Spiffy Speak
Board-Mounted Valance Installation Guide
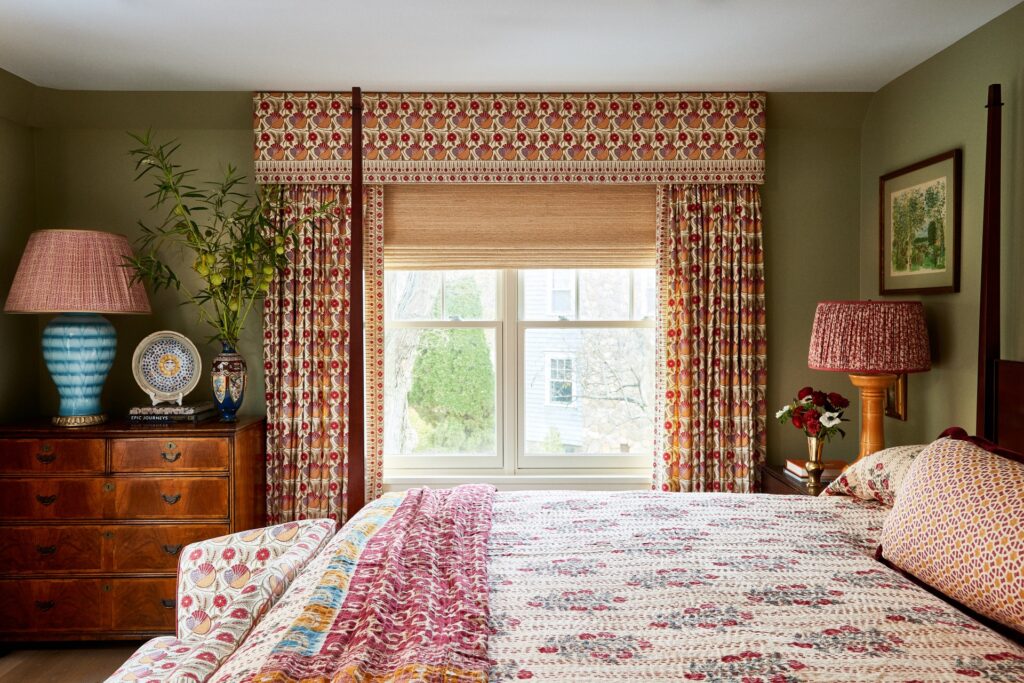
Ready to give your window its finishing touch?
Your board-mounted valance has arrived, and putting it up is easier than you might think. The board-and-bracket system does most of the work, while the Velcro makes attaching the valance quick and simple.
We’ve included everything you need in your hardware kit to get started. Just follow the steps below and you’ll be there in no time.
WHAT’S IN THE BOX
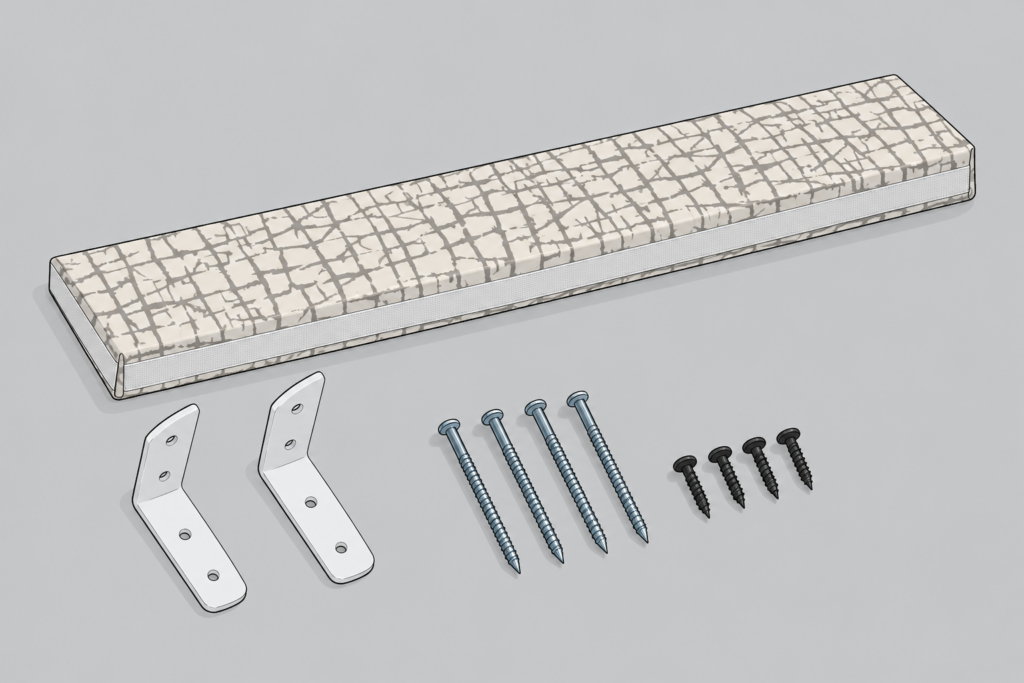
UPHOLSTERED BOARD: Your custom-length board, 4-inch deep by default, upholstered in your chosen fabric and finished with the hook side of the Velcro along the outer edge.
VALANCE: Your valance, made in your chosen fabric and lined at the back, with the loop side of the Velcro sewn along the top edge.
L-BRACKETS: The brackets you’ll use to secure the upholstered board to the wall. Valances wider than 40 inches may need more than two brackets for extra support, and we include these with your order when needed.
SCREWS: You’ll find two types of screws in your kit — longer screws for securing the brackets to the wall, and shorter screws for attaching the board to the brackets.
LET’S GET STARTED
Follow these simple steps to get your valance up and looking beautiful.
Step One: Install the L-Brackets
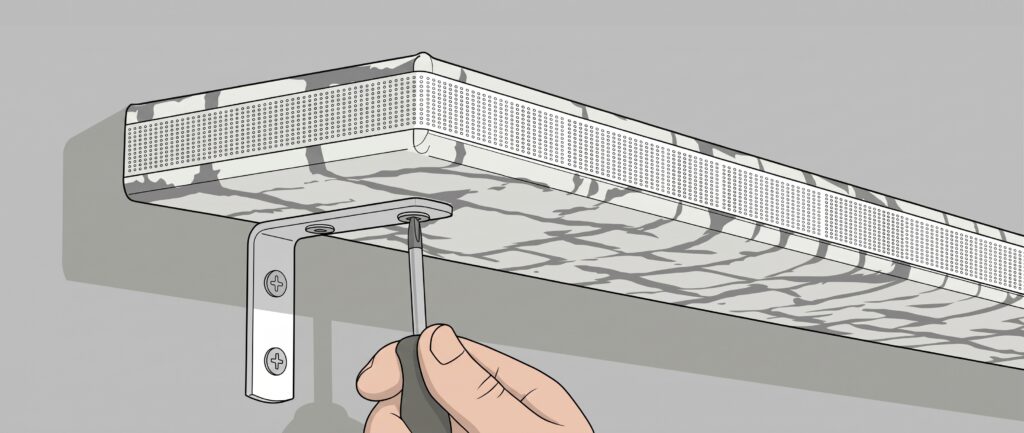
First, decide how high you’d like your valance to sit above the window or the door. You’d want to position the brackets accordingly, keeping the drop/length of your valance in mind.
It can help to hold the upholstered board in place first to get a feel for the final position. Use a level to make sure the brackets are positioned in a straight, even line.
Once you’re happy with the placement, mark the screw holes on the wall. Do the same on the other side, and for any additional brackets if your valance requires them.
Now, hold each bracket in position and use the longer screws to secure them firmly to the wall.
Step Two: Mount the Board
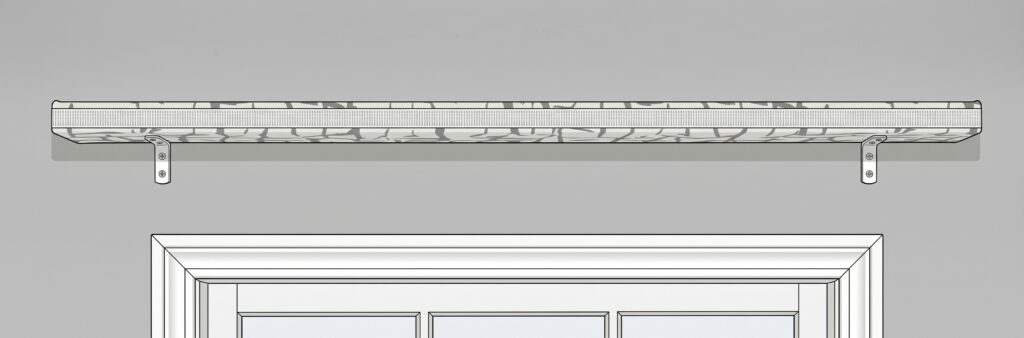
With the brackets securely in place, it’s time to add the upholstered board.
Place the board on top of the brackets and position it so that it sits centred over the window or the door. Once you’re happy with the position, use the shorter screws to secure the board to the brackets.
Step Three: Attach the Valance
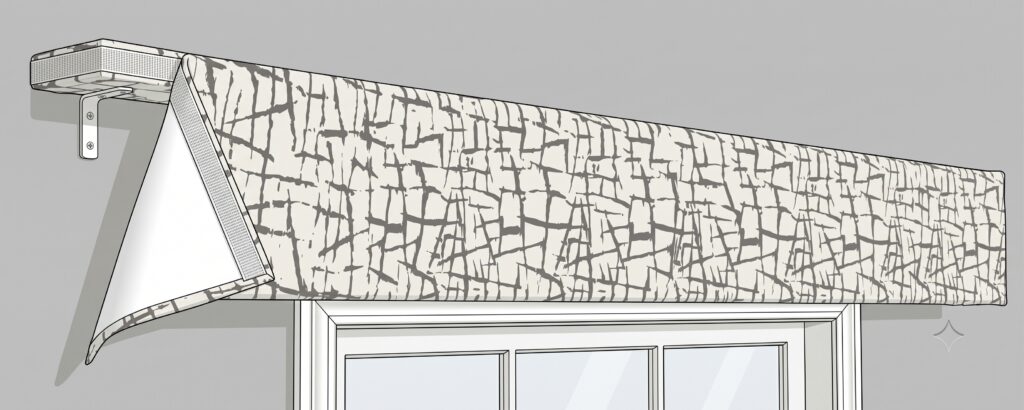
Your valance may have picked up a few creases during its journey home, so give it a quick iron or steam before attaching it.
Starting at one end, line up the Velcro on the valance with the Velcro on the board. Gently press the two sides together as you work your way across the valance until you reach the other end.
Finally, step back and check that your valance is sitting straight and even. If it needs a little adjustment, simply reposition the Velcro until everything looks just right.
For shawl or swag valances, gently arrange the pleats by hand so they fall neatly.
YOU’RE ALL DONE!
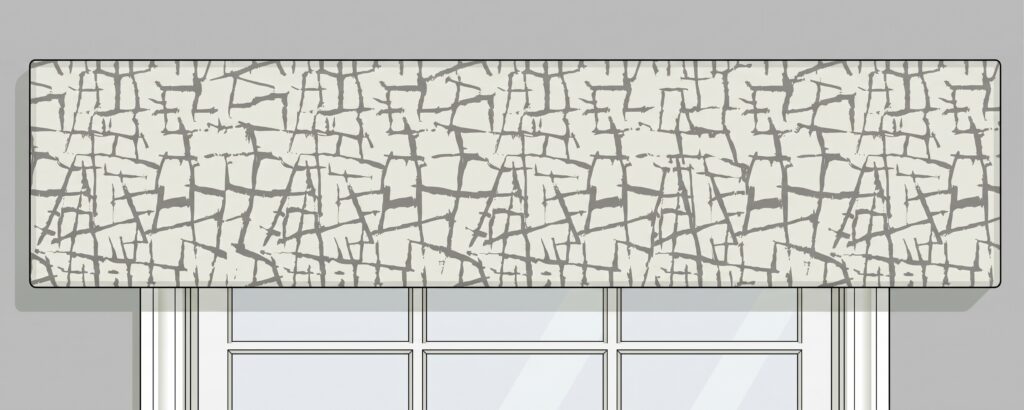
Now for the best part — step back and enjoy your newly dressed window. If your valance needs a little straightening or styling, simply make a few gentle adjustments until everything sits just right. And if you run into a question, we’re only an email away!